In the previous tutorial we established what the red builder brush was, how to add an additive brush, how to add a LightmassImportanceVolume along with a basic light (pointlight) and a player start.
If you are unsure on how to add these please refer to the previous tutorial before continuing as this tutorial expects you to have that knowledge.
So, we have some of the basics established, now to make a level that is actually fun!
1. Start with a blank template again like in the previous tutorial when you click on ‘Create a new level’
2. I think here would be a good time to talk about exactly why you pressed CSG Add or Ctrl + A to add an additive brush. The CSG Add adds a BSP Brush.
BSP’s
The best description for what a BSP brush is can be found on the UDN
http://udn.epicgames.com/Two/BspBrushesTutorial.html
“One should note that the term BSP (Binary Space Partitioning) is a data structure that is used to organize objects within a space of the level and not semantically the correct term for a type of geometry. CSG (Constructive Solid Geometry) is a more accurate term for the geometry created within the unreal engine by adding and subtracting brushes, but BSP has become the terminology to describe this geometry and it’s stuck like a bad nickname. That being said, just keep in mind that the terms BSP and CSG are often used interchangeably to refer to the geometry created within the editor using brushes.
BSP Brushes are the basic building blocks of a level. You can build a level with almost no BSP brushes, but you still have to have at least one BSP brush to “cut out” where the world is. You have to think of the “void” as a solid and then subtract out an area where the world exists. You subtract out this area with a BSP brush.
This basically means that your entire level will be made up of lots of BSP brushes. This isnt to say that your final level will be made of these, BSP’s are used to quickly prototype a level to playtest and see if it works. ”
Enough words though, let’s put this information to practice.
Two things to note about BSP. CSG Add (Ctrl + A) creates an additive brush which shows up blue in the editor
CSG Subtract (the button next to CSG add in the editor) (Ctrl + S) creates a subtractive brush which shows up Yellow in the editor.
So 2 types of brush. Additive and subtractive. For now, these are the only two things we need to remember.
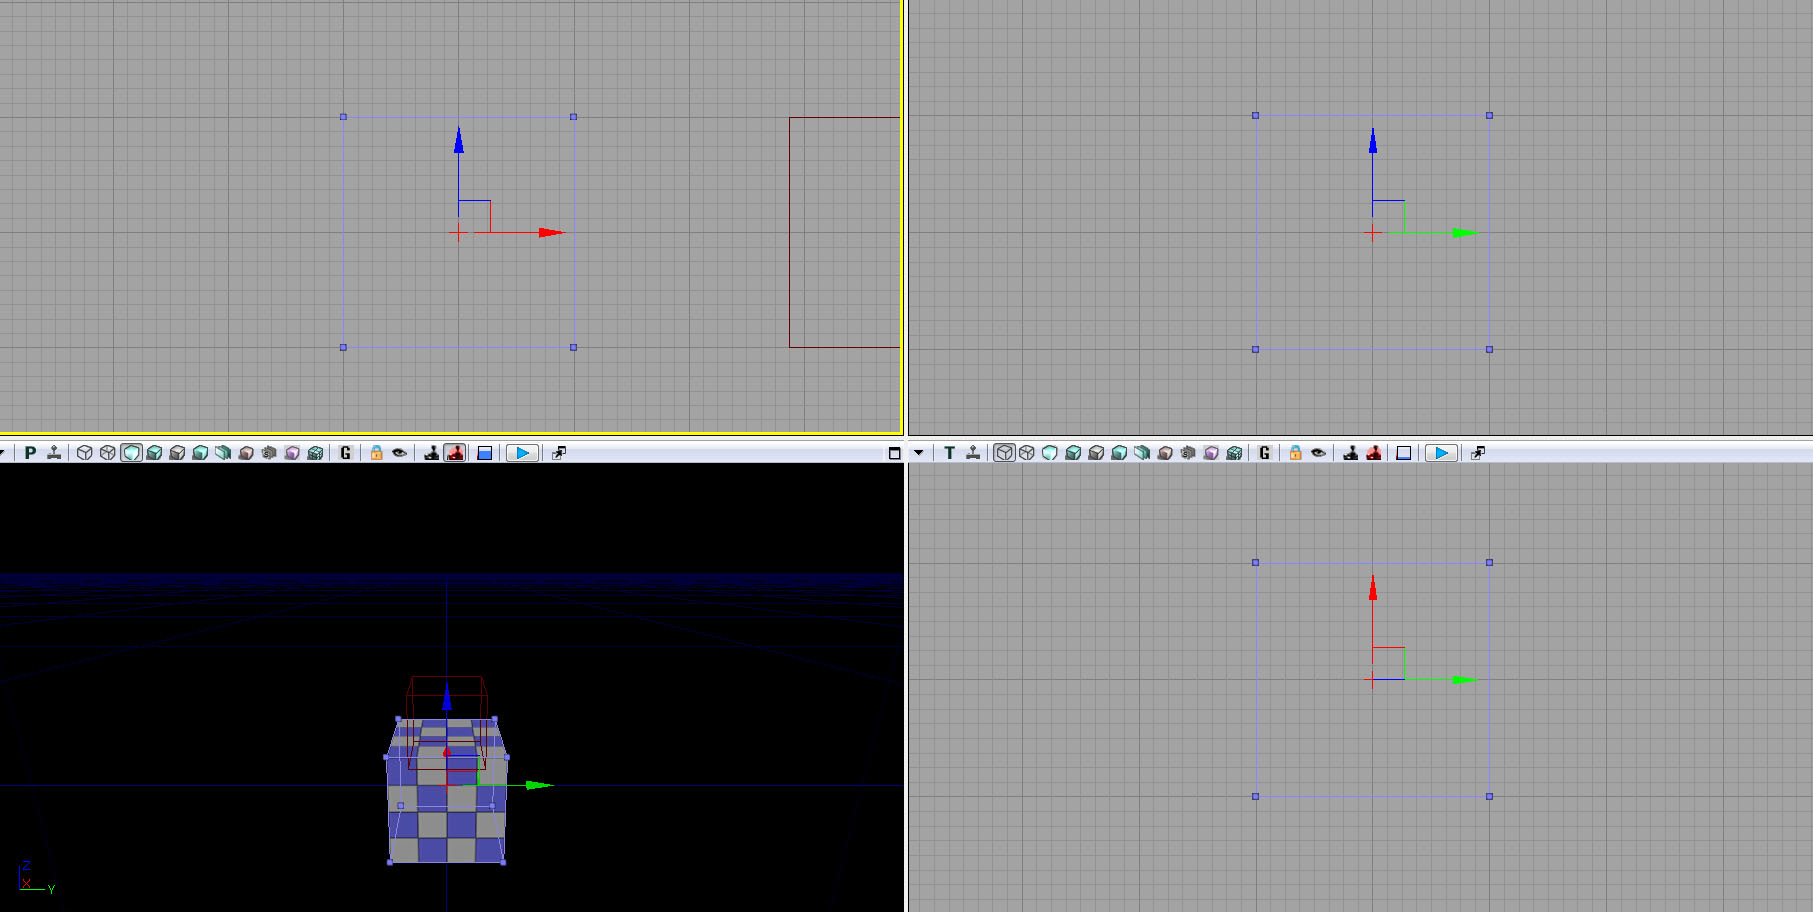
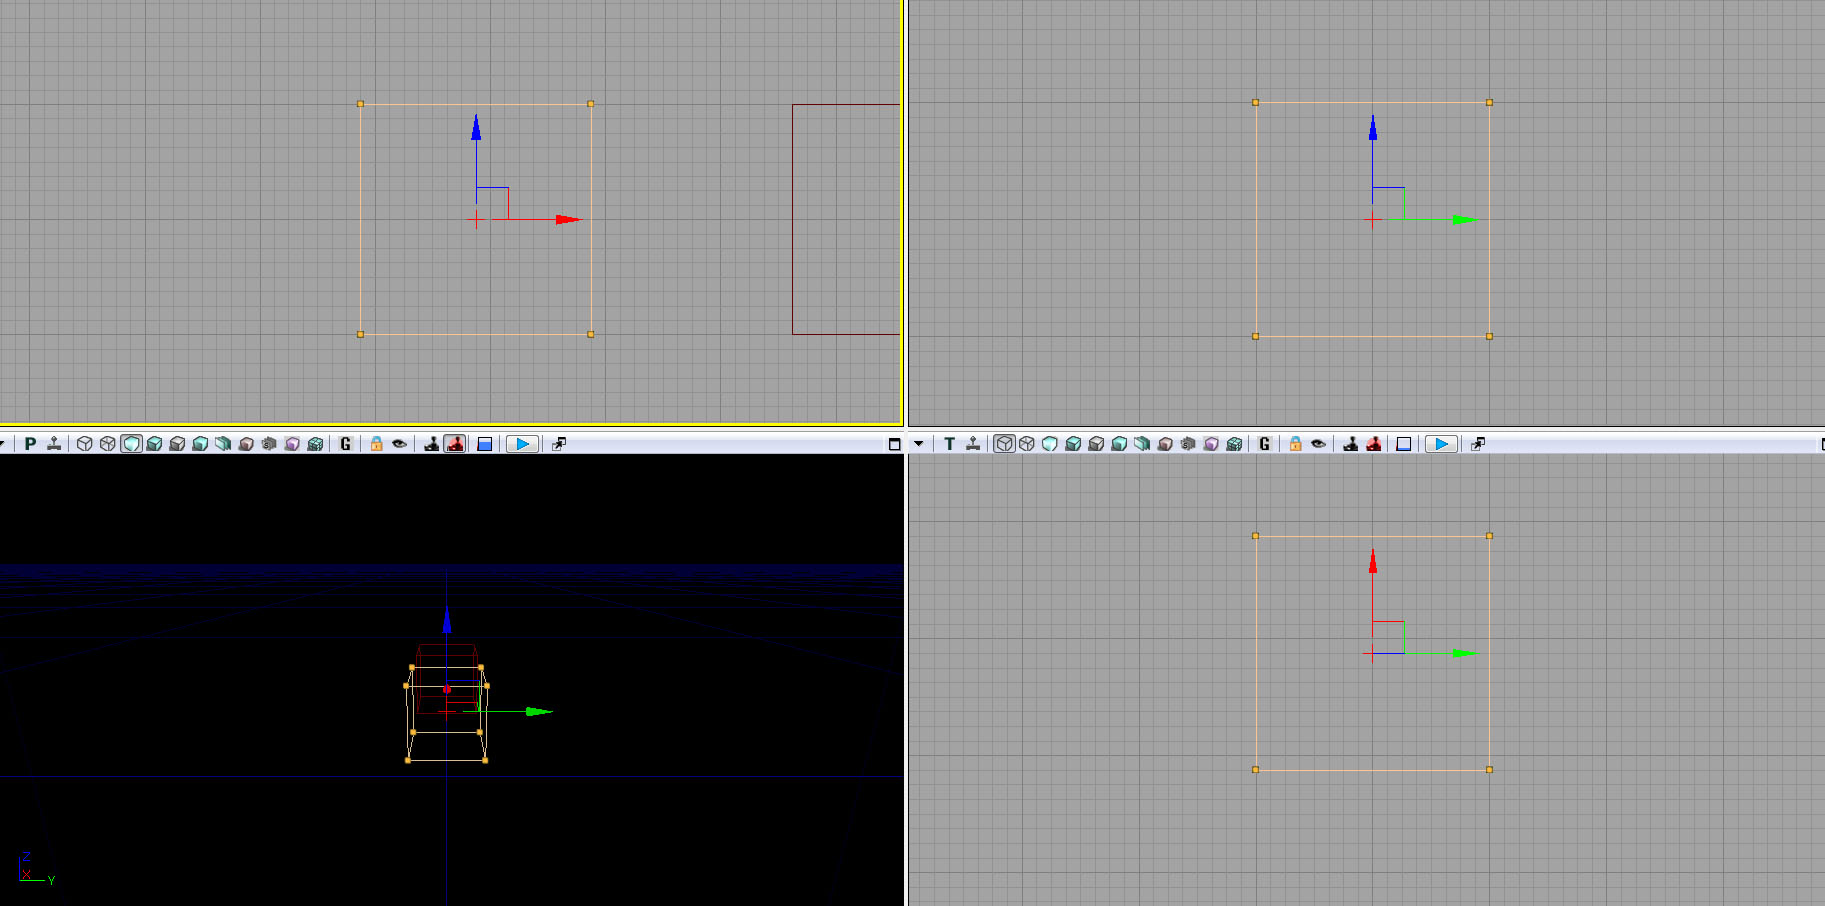
3. In your blank map template right click on the ‘Cube‘ under the brushes to bring up your ‘Builder Brush – Cube’ properties and change X to 1024, Y to 1024 and Z to 32. Hit Ctrl + A to add your brush (making sure the red builder brush is selected!). With your red brush still selected change your X value to 256, Y to 256 and keep Z at 32. Hit Ctrl + S (to subtract a brush. You should now see something like this.
As you can see the subtractive brush has taken a chunk out of our additive brush. On the right hand side on the image above you can see the outer line in blue (additive) and then inner line yellow (subtractive). And that’s the most primitive example of BSP brushes.
4. You can select brushes in the different viewports by click on them with your LMB. If you wish to select a brush in your perspective viewport hold down Ctrl + Shift and then click LMB. You can then move them around with your move widget.
If you decide you don’t like the positioning of a brush you have added/subtracted you can select it and simply hit the delete button on your keyboard.
You will notice that although your brush deletes from the orthographic viewports it does not disappear from your perspective viewport. This is because you have to rebuild the geometry. Technically the brush is not there, but the engine does not know this yet. Simply press the ‘Build geometry for visible levels‘ which is located on the top toolbar.
This is similar to the ‘Build all’ button you pressed when you were building all your lighting to play your level in the previous tutorial, however this just rebuilds your geometry (BSP) and nothing else such as lighting information. You should now see any adjustments you have made to your brushes corrected in your perspective viewport. This is the same when moving BSP brushes and doesn’t just apply to deleting them, so keep that in mind that if you don’t see changes just hit Build geometry for visible levels.
5. The best thing to do now is to just have a play around with the different shapes you can make. Keeping in mind that a subtractive brush will have no effect unless your subtracting from an additive brush. I.e. it will be invisible if you subtract it in the middle of nowhere.


u know budyy i was searching the whole net all i found was sm crap stuff,,nobody tells that build fr geometry button is all…thanks a tonnn